Before building the siphon bucket, please familiarize yourself with what a BELL SIPHON is and how they work. This simple device is the key to making a successful graywater evaporation system. Take a look at THIS VIDEO for an excellent primer on the subject.
The siphon bucket is the main component that makes the Playa Paul Revolutionary Greywater Evaporator the success it is . No expense was spared in the design of the siphon system used here. We paid a lot of money for our engineers to come up with this design. It is all that you will ever need because, as we all know, Playa Paul Has It All!™
If you are of the cheap and lazy variety, you do have the option to buy a pre-made siphon system to mount in your bucket. This system is used in the UK to automatically flush urinals which should tell you what they are worth. They can be obtained for about $20 plus shipping. You can sometimes find them HERE if available.
One thing to know about these devices, they are multi-stage siphon devices with fairly small ports compared to the Playa Paul system. These ports will be very susceptible to debris as they are designed to move only the cleanest of water. Any debris plugging any one of the many ports in this system will result in complete failure of the whole system. Watch this video of a disassembly of this siphon.
Its complicated and destined to fail in the harsher environments of the playa. Better to build the Playa Paul version of the system to be sure.
The siphon and bucket consist of a 5 gallon bucket with lid, an internal standpipe with integral “P” trap loop, a bell with air break tubing and an air break cup. The internal standpipe should have an aquarium bulkhead flange installed on it such that when installed into the bucket, fully seals so no water leakage occurs. The bucket has a hole cored to allow the standpipe to be inserter and once inserted is retained by the bulkhead retaining nut. The bulkhead fitting does come with a gasket to ensure a proper seal.
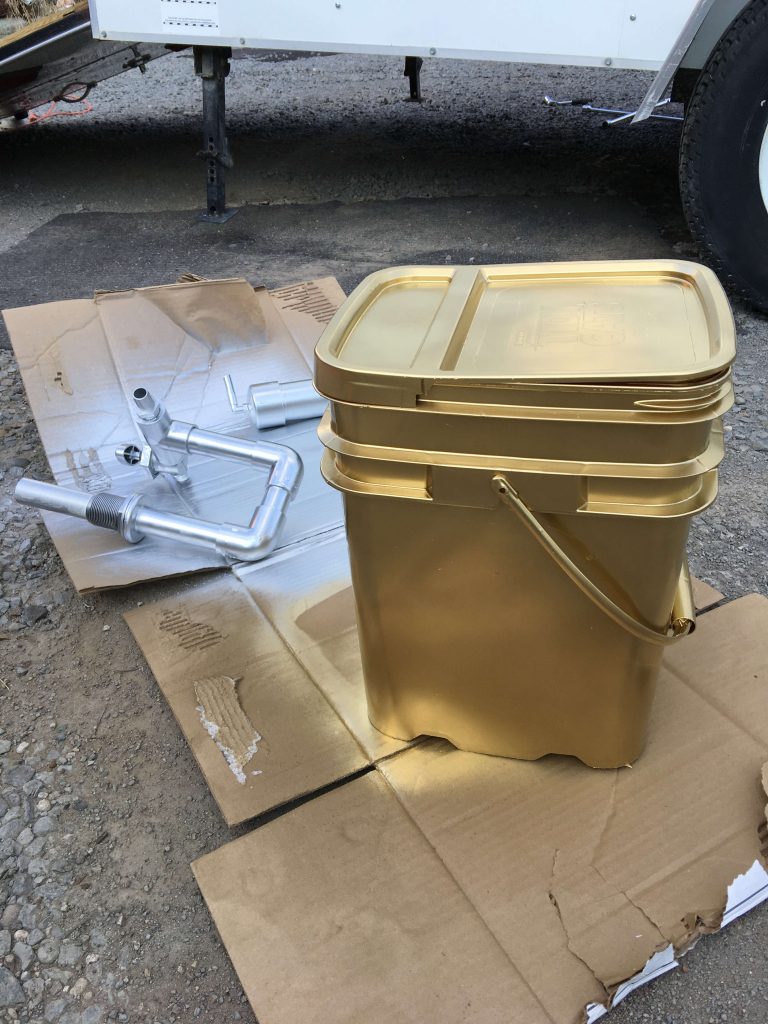
If you watch THIS VIDEO, you should have a pretty good idea how the pieces go together in the bucket. The standpipe inside the bucket should be at least 1/2 the height of the inside of the bucket. It should be no more than 2/3 of the height as the bucket might overfill before dumping. Optimum height is 1/2 the height of the bucket.
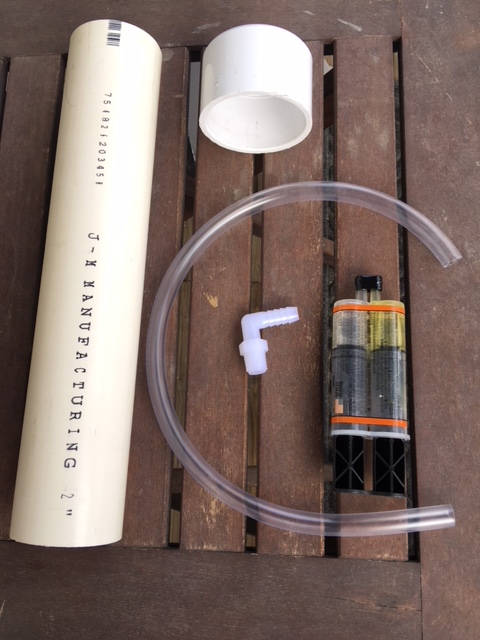
The bell is fairly simple to fabricate. The finished height should be at least 1/2 inch above the height of the standpipe so that the bell does not interfere with flow into the standpipe. It shouldn’t be much higher than 1 inch above the standpipe. If you cut the bell to be about 1/2 inch above the standpipe prior to assembling the cap, that should be perfect.
The parts are basic and easy to assemble.
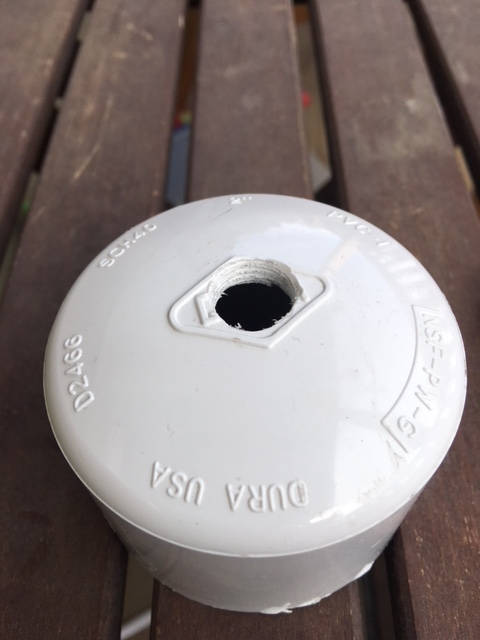
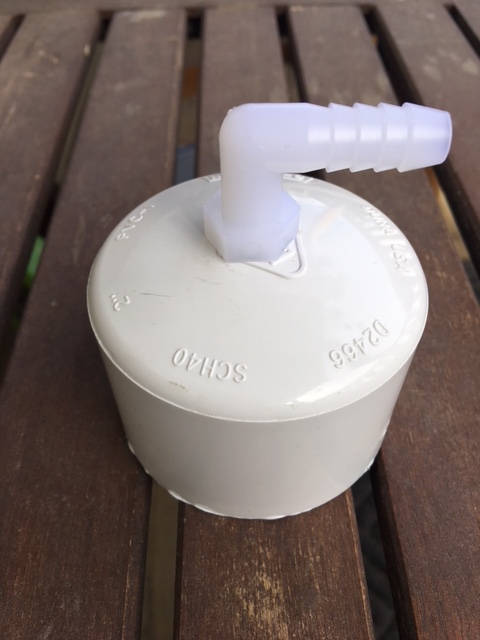
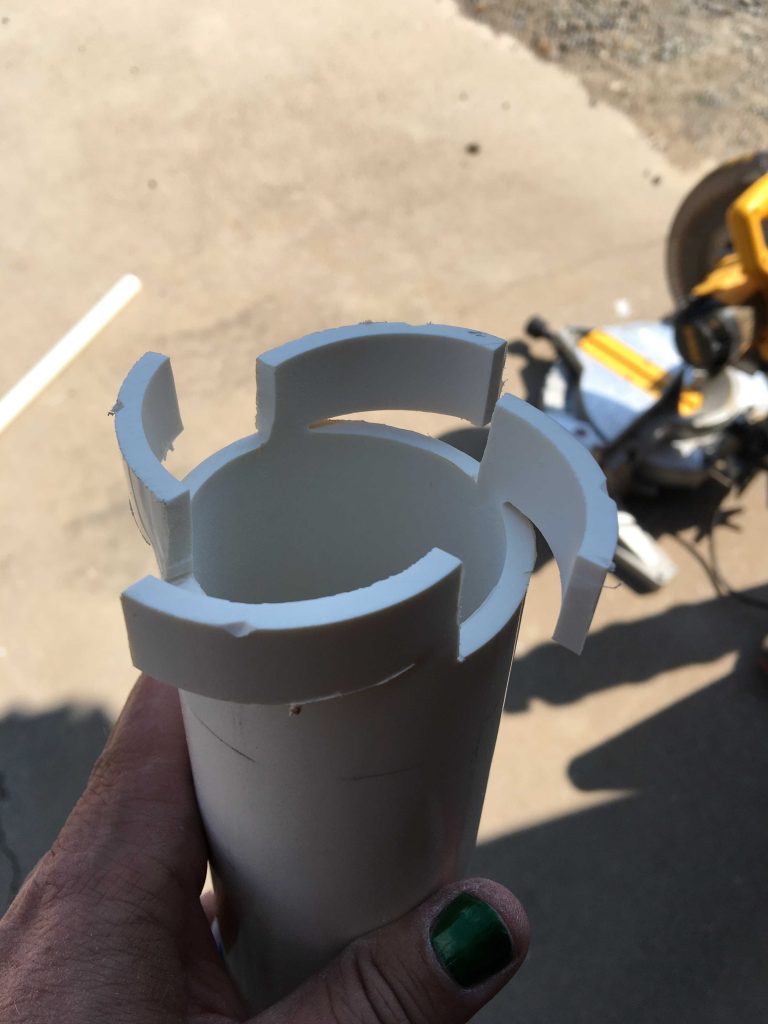
As water is filling the bucket, air pressure starts building inside the bell and standpipe. That pressure is contained within the “P” trap below the bucket. The “trigger” system is used to vent off that building pressure. When vented the water inside the bell immediately rises to the standpipe and a siphon immediately begins.
Once that water starts to flow pressure inside the bell drops to below atmospheric. Any introduction of air inside the bell top will immediately break the syphon and stop the flow. You see in the video below the portion of tube that points towards the bottom of the bell. It’s purpose is to introduce air into the bell, breaking the siphon.
In this video you see that the tube on top of the bell is used to trigger the dump and once the water level drops to a certain point, the other tube running down along the bell break the siphon completely stopping the dump. These 2 features are purposely added to ensure a proper dump. Although the trigger is not needed, it helps to initiate a dump. Without the trigger, water will start to trickle out of the siphon until such point as there is enough level in the bucket for a dump to start. This doesn’t initiate a sudden dump but rather one that proceeds slowly until all the air is drawn out of the bell. Under some circumstances, such as low flows into the bucket, water may start to trickle continuously with no dump occurring. If there is no trigger system installed, then the only answer is to increase water flow into the bucket until a dump begins. Be careful that the bucket isn’t filled completely to overflowing during the operation of your siphon.
